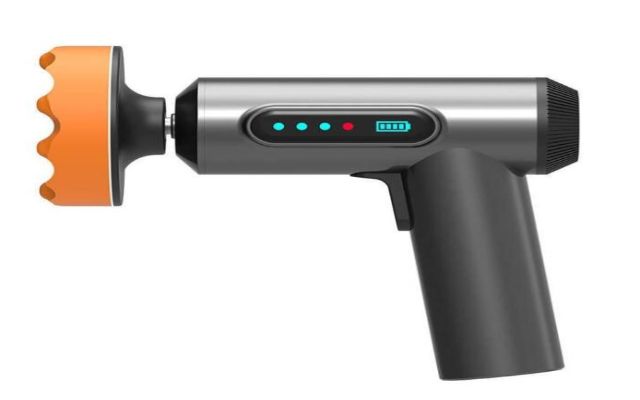
Maintaining the shine and smoothness of your car shouldn’t be left to the professionals. With an advanced electric car polisher, you can restore the original shine of your car and get rid of those annoying eyebrow marks and scratches that in your garage or car porch. Whether you are new to car polishing products or have experience, using a car polisher correctly will keep your car looking as smooth as it was on the day you bought it.
In this guide, we’ll show you how to use an electric car polisher for professional results not only to make your car look its best but to save time and money.
Before you begin polishing, you must carefully prepare your vehicle to achieve the best results and avoid any damage. This is how you do it:
Start by washing your car thoroughly. This may seem obvious, but it is necessary to remove all dirt, insects, leaves, and other things stuck to the surface. If you don’t clean it properly residues can get stuck in the polisher pad and cause more harm than good.
Also, don’t forget to remove old wax, sealant, and grease from the surface. You can spray water to see if your car still has a good layer of wax; if the water beads tightly there is still surface protection, and if not, it’s time to start over.
Even after washing, some tiny particles can stick to your car’s paint making the surface sandy. This is where the clay bar comes in. If there is a rough texture on the surface, use a clay bar to remove these contaminants for a smooth paint ready for polishing.
Before you start polishing, you should protect the portions of your car that should not be polished. Cover surfaces with masking tape, such as logos, rubber window seals, and sharp edges. This protects these sections from being harmed or stained by the polisher, keeping your car safe during the procedure.
Now that we have learned how to prepare your car, let’s understand the main polishing process.

Polishing your car can restore its shiny appearance and remove defects, but a proper procedure is required to achieve professional-looking results. Here’s a step-by-step method for polishing your car like a pro.
Start by attaching the appropriate polishing pad to your car polisher. Choose a polishing pad based on your car’s paint and the results you want. Follow the instruction manual for choosing the correct polishing pad.
Once the pad is in place, apply a small amount of car polish onto the pad, and, without turning the polisher on, spread it evenly on the car surface. By doing this, the polish will be evenly distributed onto the surface and pad, minimizing splashes when you begin polishing.
Now turn the polisher on and slowly move it around the car’s surface in overlapping motion, working in sections. Remember to start at a low speed, and as you become more comfortable, gradually increase the speed to your desired level.
Remember to use the polishing technique according to your car’s paint. Here’s the guide:
Single-stage paint: Use a light to medium polish. Apply with medium pressure and short, overlapping strokes.
Clear coat: Medium to heavy polish works best. Use moderate pressure and overlap your strokes to ensure flawless covering.
Metallic paints: Be extra gentle on metallic paints, use light pressure and a mild polish. As metallic colors are more subtle you should stop periodically to avoid overheating.
Avoid pressing hard and apply equal pressure when polishing to get a flawless, smooth finish. Also, keep the polisher moving to avoid heat buildup that could harm the paint and cause a lot of damage.
After you’re done polishing, you should remove any residue and excess polish from the car’s surface. Follow these steps:
To achieve the best results with your electric car polisher, consider the following tips and tricks:
In the last, polishing your car can bring it back to its original shine and look as good as new but safety should always come first when using an electric car polisher.
Always wear loose clothing and protective gears before starting the process. Keep the wire away from the moving parts, and follow the product manual for a smooth and safe polishing experience. With correct techniques and attention to safety, we ensure you can get professional results and keep your car looking like it just came out of a showroom for years to come.