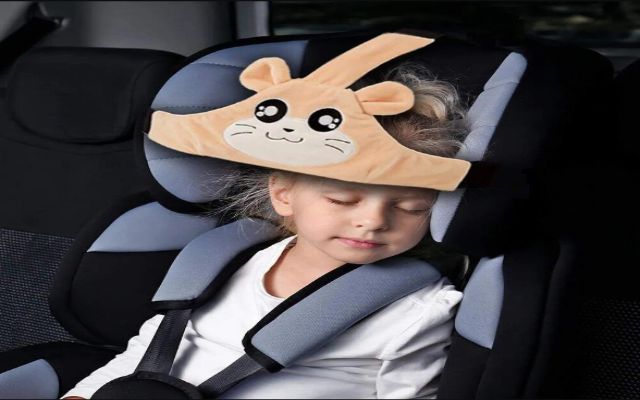
If you’ve ever fallen asleep in a car or airplane and woken up with a stiff neck we understand the difficulty. And if you’re a parent you’ve probably heard your kids complain about the same thing. But don’t worry!
Jani Trends will show you how to make a travel neck pillow, especially for children. You can customize with different fabrics at a price that is affordable, fun, and more premium than anything else that you will find in stores.
So, the next time you travel, do travel in style with a comfortable handmade neck pillow. It’s fun and simple, suitable for beginners. Whether you’re hoping to sleep on a long- flight or want your kids to enjoy the trip this pillow will become your new favorite travel accessory.
Let’s get started.
List of things required
To make your own travel neck pillow, the first thing you want to do is draft your own pattern. Sketch a U-shape onto 1″ wide pattern paper, using the grid lines for accuracy. The U-shape should be about 18″ at its widest and 14″ at its highest. Now vit the paper by folding the pattern paper in half to achieve a symmetrical shape.
Tip: Ensure that the pillow is neither too tight nor too loose around your neck. A good rule of thumb is to measure your neck to make sure the pillow will fit in that position. It should fit snugly around your neck without pushing the head forward too much or making it too large to accommodate.
Wash, dry, and iron the fabric you have chosen for your travel neck pillow. This will help prep the fabric for your project as well as future washing, as it pre-shrinks the fabric so you don’t mess up your stitches later. And since you’ll be using this when you travel, you’ll definitely want to wash it.
Cut your fabric and place your travel neck pillow pieces with the right sides together. Find the middle point so you can attach the loop. Now take your ribbon and fold it in half. Place the open end of the ribbon between your pillow pieces in the center and pin it into place. Pin or clip your pillow pieces together.
Tip: When designing a travel neck pillow for children, comfort is essential; therefore, use the correct materials. Choose something that is soft and gentle on the skin, like cotton, wool, or flannel. These fabrics are comfortable and breathable, perfect for long-distance trips. They also come in fun colors and patterns that your child can love using. Just make sure the clothes are machine washable because kids can be messy.
Next, sew around the perimeter of the pillow with a 1/2″ seam allowance. Leave a 5″ hole in the top edge for stuffing the fiberfill.
Clip the seam allowance. To help the curves of your pillow lay flat, clip the seam allowance and cut small triangle notches into the seam allowance around the curves of the pillow, making sure you do not cut into the stitches.
Finish your pillow. Turn the pillow to the right side through the hole you left in the top edge and stuff the pillow with fiberfill until firm. Hand stitch the opening closed using a needle and thread.
Tip: As for the filling polyester fibers are a good choice because they are lightweight, soft, and hold their shape well. If you want a slightly more supportive pillow, choose memory foam, which is slightly stronger and conforms to the shape of your child’s neck. This may help people sleep longer while traveling.
One of the best things about making a neck pillow at home is that you can customize it perfectly for your child. You get to choose the softest fabric and adjust the stuffing to make sure it’s just right—whether they like it firm or super squishy. This way, the pillow provides the exact support they need for a comfy nap, no matter where you’re traveling.
When you make the pillow yourself, you can use high-quality materials that will last. Whether it’s for road trips or flights, the pillow will hold up over time, even with regular use. Plus, because you’ve made it sturdy, it can handle all those little bumps and spills that come with traveling with kids.
Making the pillows together can turn into a fun project for you and your child. Picking out the fabric, stuffing it, and sewing it up makes for a special bonding experience. Every time they use the pillow, they’ll remember the time you spent making it together, adding a sweet, personal touch to an already useful item.
In the end, making something with your own hands is always special for your children. A simple handmade neck pillow may seem like a small thing, but it can bring so much comfort and joy to your trip. And it’s not only about relaxation it’s also about the love and care you put into making this just for them. Ilas it’s the little things like this that make a family trip even more memorable.
Travel safe and happy crafting!