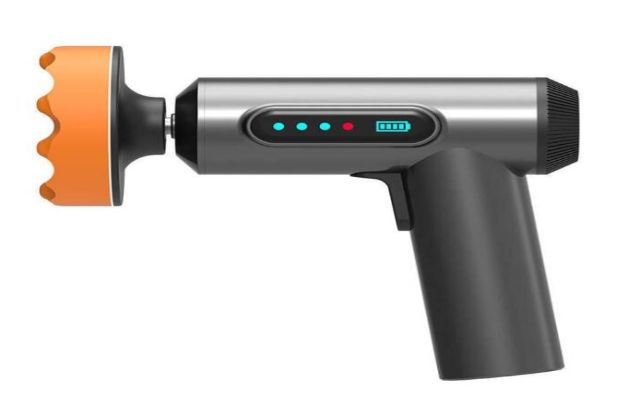
If you are a person who likes to take care of your car to always make it look good then polishing is an essential part of your maintenance routine. Nothing beats a smooth shine when your paint job is smooth and scratch-free. Although you can sand it by hand but using an electric car polisher will make the entire process faster, easier, and give better results. Whether you want to work on dull paint, swirls, or wax, to achieve perfect results, get an electric car polisher capable of doing it all.
In this guide, we’ll show you how to polish your car with an electric polisher for a showroom-ready shine.

Most people assume that the only reason to perform polishing on their car is to enhance its visual appearance. This, however, is not the case. If your car paint’s protective layer (clear coat) is damaged, the dirt and debris that land on your car’s surface will eventually penetrate the surface more and more, leading to bigger problems such as sun damage, chipping, and color fading.
In order to keep their car’s paint looking shiny, fresh, and clean, most car owners take their cars to the detailing shops to do a professional paint correction, while some also try to do it on their own, which is what we are focusing on in this blog.
Yes, using an electric car polisher is definitely worth it, but it’s important to consider a few things. The first and most important thing is to analyze the condition of your car’s paint. If there are small scratches only on the surface, an electric polisher will be great for them. But if the scratches are so deep that you can feel them with your fingernail, then the polisher won’t be enough, and it’s good to consult an expert.
The second thing to consider is your expertise level in using an electric car polisher. If you are not expert enough to handle it effectively, then you might ruin the paint job instead of improving it. Therefore, for DIY enthusiasts, we recommend practicing first on a less important surface and see if you can do it effectively or not. Otherwise, the best option is to consult an expert.
Overall, if your car’s paint just needs a light touch-up and you have good skills to operate the polisher, then an electric car polisher is good for you, saving a lot of time and money.
If you’re confident in your abilities and believe you need to utilize an electric polisher instead of doing it by hand, there are a few key procedures you should do before you begin using the polisher.
Before you start polishing your car it is very important to ensure that the surface is completely clean. Small bits of dirt or grime left on the paint can turn into scratches when you start polishing. So the first step is to wash your car properly. It removes dirt, grime, and old layers of wax and sealant that are still on the paint.
After washing the car dry it thoroughly with a microfiber cloth or professional drying cloth so that you can have a dry and smooth surface for effective polishing. For more extensive preparation some people use clay bars or cleaning sprays. This helps remove hidden particles, such as brake dust, that are still stuck in the clear coat.
Note: Be careful with clay bars. They require a lot of lubrication to prevent damage to the paint. If you are not sure cleaning spray may be a safe option. It helps dissolve those particles without much risk.
Once the panel is dry, apply a small dab of polish to the applicator pad and place it on the panel to spread the polish onto the area that needs to be polished before switching the polisher on. Move it constantly in an overlapping motion, left to right and up and down. This ensures the area is lubricated, as a dry polisher can cause damage to your paintwork.
It is good to work in sections for better results. You may need to go over one section multiple times, but it will only give you an excellent smooth shine.
Place the pad on the paintwork and start with a low speed of rotation then slowly increase the speed but stay within the lower speed ranges to prevent damage.
Turning the polisher to the desired speed – will depend on which make of polish you are using, so be sure to follow the instructions on the container. Apply even pressure to the paintwork, pressing down on the polisher quite lightly, and not too much as they require a light pressure to work well.
Always remember to move the polisher slowly over the section in circular motions to form a haze effect.
When the polish begins to dry or turn clear, use a microfiber cloth to remove the residue. Inspect the results, and if you are satisfied, move on to the next section.
Lastly, for best results in car polishing, always use high-quality products, from cleaning tools to electric car polishers.
Remember that polishing requires practice, so if you’re just getting started, try using your electric polisher on an old car hood or panel before working on your own vehicle. With practice, you’ll be able to give your automobile a professional-looking smooth, shiny finish!